How to Create Github README as Resume?
Explore new ways of showing your GitHub resume as a developer or opensource contributor
Create a README markdown file that is your new opensource resume/CV !
GitHub introduced a new feature within a developer’s repository. It’s a secret. The user can now put on their details in a special repository within a README file.

I went for a minimalistic design, Hope you like it! 😋
So why not use all possible ways to make your profile look cool? This gives chance to recruiters to see more about your open-source contributions. Make this your new resume!!
What are the STEPS to follow?
Let's create your first awesome README!

- Create a repository with your GitHub name.
- Add readme file to it, README.md
- You may notice GitHub introduces you with some format, you can edit that too.
- If you want a banner then you may follow, Canva and edit the banner images there,
- Click here.
- You can edit banners such as,

5. To add your social network badges in README.md file view the following collection,
6. You can also add an awesome Github stats card, that shows your current stats dynamically,
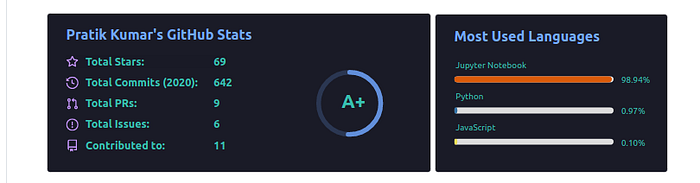
Get your GitHub-readme-stats below, made by Anurag Hazra,
Additional awesome resources :
Must try these awesome tools!
Github Profile README generator by Rahul Jain,
Github Activity README by James George,
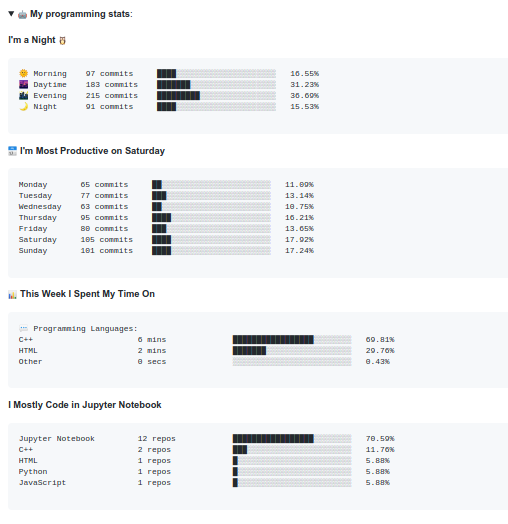
Waka Readme Stats by Anmol,
Add visitors badges from (git-badges),
Blog Cards-
GitHub Quotes by Shravan
Finally, you can view simple markdown code below for reference,
The above code snippet can be used with the following changes,
- Change the name of the file to README.md
- Change the image directory and name from ‘IMAGE-NAME’ to one you will upload.
- Change all the descriptions to yours, like what you are currently working on.
- Change all the username area, which is highlighted by ‘USERNAME’.
You can also look for some cool repositories and other people’s work here and below,


